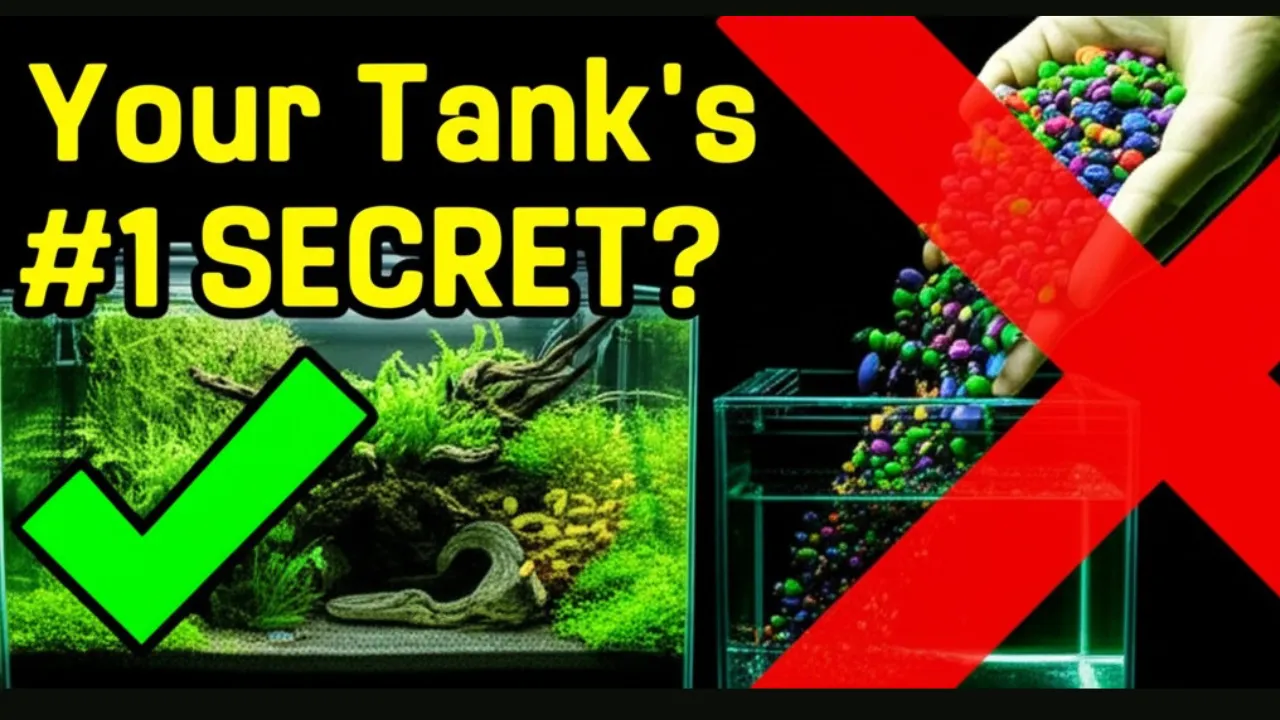
So, you’re ready to build your first planted tank. You have the perfect aquarium picked out, and you’re dreaming of lush green plants and happy little fish. But then you hit the first major roadblock: substrate.
If you’ve scrolled through Reddit or PlantedTank.net for more than five minutes, you know that asking about the “best” substrate opens up a huge, passionate, and incredibly confusing debate. One person swears by simple sand, another says you have to use expensive aquasoil, and a third tells you to go grab a bag of dirt from your backyard. It’s enough to make your head spin.
Let’s cut through that noise.
I’ve been setting up planted tanks for years, and I’ve tried it all—the cheap stuff, the expensive stuff, the messy stuff. Today, we’re going to break down the real-world options in plain English. This is your clear, simple, no-nonsense guide to choosing the perfect foundation for your substrate for a low-tech planted tank.
Why Substrate is More Than Just “Gravel” in a Planted Tank
First things first, let’s get one thing straight. In a regular fish tank, the stuff at the bottom is just decoration. But in a planted tank, the substrate is a vital part of the ecosystem. It’s not just rocks; it’s your plant’s home and, potentially, its primary food source.
Think of it like building a house. The substrate is the foundation. A good foundation supports everything you build on top of it, keeping it stable and nourished for years to come. A bad foundation will cause problems from day one. Your goal is to give your plant roots a healthy, stable place to anchor and grow.
The 3 Main Types of Substrate for a Low Tech Setup
For a beginner starting a low-tech tank, you really only need to know about three main approaches. Let’s walk through each one, covering the good, the bad, and the ugly.
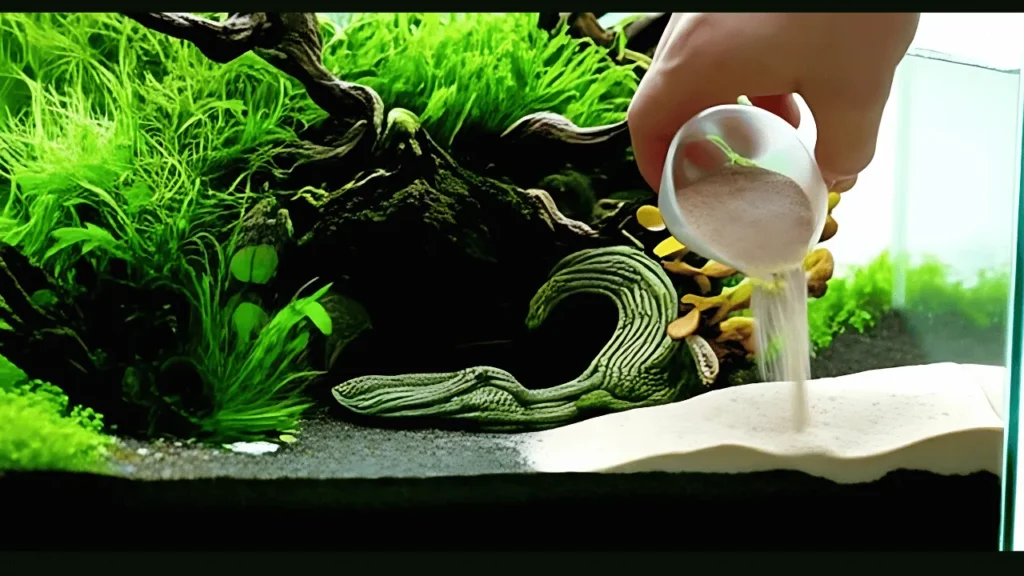
Method 1: The Inert Substrate + Root Tabs Approach
This is probably the most straightforward and controllable method for a beginner.
What it is: “Inert” is just a fancy word for a substrate that doesn’t contain any nutrients on its own. We’re talking about common aquarium sand or fine gravel. You are providing a clean, stable anchor for your plants, and then you are delivering food directly to their roots using “root tabs,” which are like little fertilizer capsules you push into the substrate.
Popular Choices:
- Sand: Pool filter sand or play sand (make sure it’s well-rinsed) are incredibly cheap and effective options. They provide a clean look and are great for bottom-dwelling fish.
- Gravel: Standard aquarium gravel works, but try to get a smaller grain size (2-3mm). Large, coarse gravel can make it difficult for delicate plant roots to take hold.
- Commercial Inert Substrates: Products like Seachem Flourite or CaribSea Eco-Complete are porous clay-based gravels. They contain no major nutrients out of the bag but are excellent at soaking up nutrients from the water column and delivering them to the roots over time.
The Good:
- Total Control: You decide when and where your plants get food. This can make it easier to avoid algae issues in a brand-new tank.
- Clean and Easy: Sand and gravel are easy to rinse and add to your tank without making a huge mess.
- Affordable: This is a very budget-friendly way to get started.
The Bad:
- Requires Maintenance: You have to remember to add new root tabs every few months as the old ones get used up.
- Not Ideal for Heavy Root Feeders: Some plants, like Amazon Swords, are extremely heavy root feeders and may eventually want more nutrients than root tabs alone can provide.
Also Read: The Ultimate Guide to Low-Tech Aquascaping (No CO2, No Stress!)
Method 2: The All-in-One Aquasoil Approach
This is what you see in most of those stunning, professional aquascapes online. It’s convenient, effective, but comes with a higher price tag.
What it is: Aquasoil is essentially a nutrient-packed substrate made from baked, volcanic soil formed into little pellets. It’s designed specifically for growing aquatic plants. It comes out of the bag loaded with nutrients, ready to go.
Popular Choices:
- Fluval Plant & Shrimp Stratum: One of the most popular and widely available aquasoils. It’s great for beginners.
- Tropica Aquarium Soil: Another top-tier choice known for promoting excellent plant growth.
- ADA Amazonia: This is the gold standard for many professional aquascapers, but it’s also known for releasing a lot of ammonia initially, which can be tricky for a beginner to manage.
The Good:
- Incredible Plant Growth: There’s no denying it—plants love this stuff. It provides everything they need right from the start.
- Looks Great: It has a very professional, clean, dark look that makes plant and fish colors pop.
- Buffers Water: Most aquasoils will slightly lower the pH of your water, creating conditions that many tropical plants and fish enjoy.
The Bad:
- It’s Expensive: This is by far the most expensive option per pound.
- Can Cause Early Algae: Because it’s so rich in nutrients, it can sometimes release excess ammonia and other nutrients into the water when you first set up your tank, which can fuel an initial algae bloom if you’re not careful.
- Breaks Down Over Time: After a few years, the pellets will start to break down into mud and lose their nutrients, at which point the substrate may need to be replaced.
Method 3: The Natural “Dirted Tank” Approach (Walstad Method)
This is the classic, old-school, low-tech method. It’s incredibly effective, the cheapest option by far, but it requires a bit more care during setup.
What it is: You use a layer of actual, real-life dirt at the bottom of your tank, and then “cap” it with a layer of sand or fine gravel to hold it down. The dirt becomes a massive, long-term nutrient reserve for your plants.
The “Dirt”: The key is to use organic potting soil or mineralized topsoil. You absolutely cannot use soil with chemical fertilizers, pesticides, or manure in it, as this will poison your tank. The “Cap”: You need at least 1-2 inches of sand or fine gravel on top of the dirt to ensure it doesn’t get kicked up and turn your tank into a mud puddle.
The Good:
- Extremely Cheap: A bag of organic soil costs a few dollars and can be used for multiple tanks.
- Amazingly Self-Sustaining: A well-set-up dirted tank can go for years without needing any additional fertilizers. The ecosystem truly takes care of itself.
- Fantastic for Root-Feeding Plants: Plants with big root systems, like Amazon Swords and Cryptocorynes, will absolutely thrive.
The Bad:
- Messy Setup: It can be tricky and messy to set up correctly. If you don’t cap it properly, you can end up with very cloudy water.
- No Redos: Once a dirted tank is set up, you can’t easily move your plants or hardscape around without kicking up the dirt and making a mess. You have to be happy with your initial design.
Substrate Showdown: A Comparison for the Low-Tech Beginner
Let’s put these three methods head-to-head on the factors that matter most to a beginner.
| Feature | Inert + Root Tabs | All-in-One Aquasoil | Natural “Dirted Tank” |
|---|---|---|---|
| Initial Cost | Low | High | Very Low |
| Ease of Setup | Very Easy | Easy | Medium / Messy |
| Longevity | Good (with new tabs) | Fair (2-3 years) | Excellent (5+ years) |
| Beginner Friendliness | Excellent | Good | Good (with careful setup) |
Our Official Recommendation for Your First Low-tech Tank
Okay, so what’s the final verdict? After years of experience and helping countless beginners, I have two official recommendations based on your personality and goals.
For the Beginner Who Wants Maximum Control & Simplicity: Go with the Inert Substrate + Root Tabs method. Use a quality sand like Seachem Flourite Black Sand or even simple pool filter sand. This approach gives you a clean slate. You won’t have to worry about nutrient spikes or initial algae blooms from a rich substrate. You are in complete control of the nutrients, and it’s the most forgiving path if you’re nervous about getting things right.
For the Beginner Who Wants the Most Natural, Long-Lasting, and Budget-Friendly Tank: If you’re a little adventurous and love the idea of creating a truly self-sustaining ecosystem, go with the Natural “Dirted Tank“ method. Take your time, watch a few videos on how to set it up cleanly, and you will be rewarded with an incredibly stable and low-maintenance aquarium that will thrive for years with minimal input from you.
Frequently Asked Questions About Aquarium Substrates
What is the best substrate for a planted tank?
For a low-tech beginner, the “best” is either an inert sand/gravel supplemented with root tabs (for control) or a dirted tank capped with sand (for longevity and low cost). Both are excellent choices.
Is gravel or sand better for planted tanks?
Fine gravel (2-3mm) and sand are both great. Sand is often preferred because it’s easier for delicate plant roots to penetrate and it’s better for bottom-dwelling fish like Corydoras. The most important thing is to avoid very large, coarse gravel.
How deep should my substrate be?
A good rule of thumb is to have a total depth of at least 2-3 inches. This provides enough room for plants to anchor their roots securely. If you are doing a dirted tank, aim for about 1-1.5 inches of dirt, capped with another 1-1.5 inches of sand.
Do I need to rinse my substrate before using it?
Yes, always! No matter what you buy, it will have fine dust on it. Rinse it thoroughly in a bucket outside with a hose until the water runs clear. This will prevent your tank from becoming a cloudy mess when you first fill it.

Daniel Ravera is the founder of AquaInitium, where he shares insights gained from over a decade of hands-on aquascaping. His expertise lies in the low-tech, ecosystem-first method—a philosophy he adopted after experiencing the common frustrations of algae and instability himself. As an authority in the beginner aquascaping niche, Daniel provides clear, trustworthy advice to help you build a beautiful, stable aquarium and avoid the costly mistakes he learned the hard way.


1 thought on “The Ultimate Guide to Substrate for a Low Tech Planted Tank (2025)”